VCenter 5.0 to 5.1 U1 Upgrade while Separating or Splitting out Services (Part 1): SSO Install
May 28, 2013 5 Comments
Upgrading to Vcenter 5.1 is definitely not as easy as the previous upgrades and finding information on exactly the best way to do it was difficult for me. So, I hope to provide some screenshots and some advice on the issues that I have encountered. This first part will be the SSO installation for a single site. The multisite mode requires some extra configuration like replicating the database to your other sites and then setting up linked mode. I hope to cover that in a later posting once I have it documented.
For my design, I split out SSO, SQL Database, and Inventory Service onto their own servers. I kept VUM, Web Client, and Vcenter Server on the same server. This is our lab install and we will not be doing multisite SSO for this guide.
If you need multisite SSO here is the KB article the steps http://kb.vmware.com/selfservice/microsites/search.do?language=en_US&cmd=displayKC&externalId=2042849 , but if you select create primary node for multisite during install I don’t believe it harms anything to do it this way even if you run it stand alone.
Here is a link to the sizing requirements for each of the components. Build out your virtual machines for the components sized for your environment. http://pubs.vmware.com/vsphere-51/index.jsp#com.vmware.vsphere.install.doc/GUID-67C4D2A0-10F7-4158-A249-D1B7D7B3BC99.html#GUID-67C4D2A0-10F7-4158-A249-D1B7D7B3BC99
Here is the order I have tested and been informed by VMware to do:
1. Install SSO service (seperate server for this article)
2. Install Web Client and Configure your AD sources (Vcenter server):
3. Install Inventory Service (separate server)
4. Uninstall Vcenter application to remove the old inventory
5. Install new Vcenter and point to existing database and point to SSO/new Inventory service)
6. Upgrade Vmware Update Manager / Components
Here are the links to the steps:
Web Client Upgrade
Inventory Service Upgrade
Vcenter Service Upgrade
On to part 1, Installing SSO! For our setup we are using Windows 2008 Enterprise R2, but I believe it can run on 2012.
1. Download the Vcenter installer and copy it to your new SSO server.
2. Create your SSO SQL Database. If you are using a separate SQl server, which I highly recommend for medium to large businesses, is you need to create the new SSO database. Log on to where your SQl server resides.
The documents can be a bit confusing and you think you might want to go ahead and create the shell, but the TableSpaces script below will actually create the database for you. The script has instructions in it on if you want to change the install path of the database name. To find the SQl scripts browse to your downloaded Vcenter install and going to the paths from the install guide below.
If you are using an existing database for Single Sign-On, you must create a database user (RSA_USER) and database administrator (RSA_DBA) to use for the Single Sign-On database installation and setup. To create these users, run the script rsaIMSLiteDBNameSetupUsers.sql. The script is included in the vCenter Server installer download package, at vCenter Server Installation directory\Single Sign On\DBScripts\SSOServer\Schema\your_existing_database..
■ If you are using an existing database with your vCenter Single Sign-On installation or upgrade, make sure that the table spaces are named RSA_DATA and RSA_INDEX. Any other table space names will cause the vCenter Single Sign-On Installation to fail.
■ If you are using an existing database for Single Sign-On, to ensure that table space is created for the database, run the script rsaIMSLiteSetupTablespaces.sql. The script is included in the vCenter Server installer download package, at vCenter Server Installation directory\Single Sign On\DBScripts\SSOServer\Schema\your_existing_database. You can run this script prior to the installation, or during the installation, when you are prompted by the installer. You can leave the installer to run the script, and resume the installer after you run the script
Modify the scripts with your username/pass and preferred database name. Run the scripts on the SQl server to create your database instance and users. We called our database SSO as opposed to the default RSA.
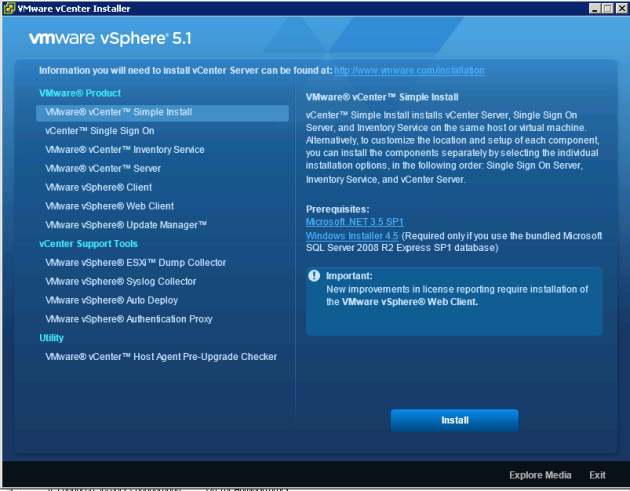
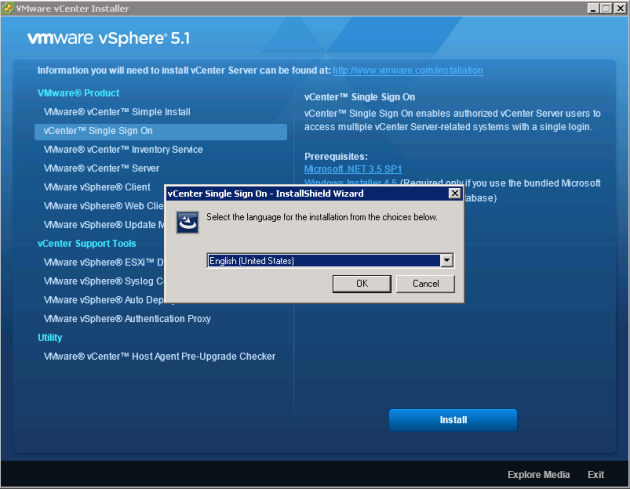
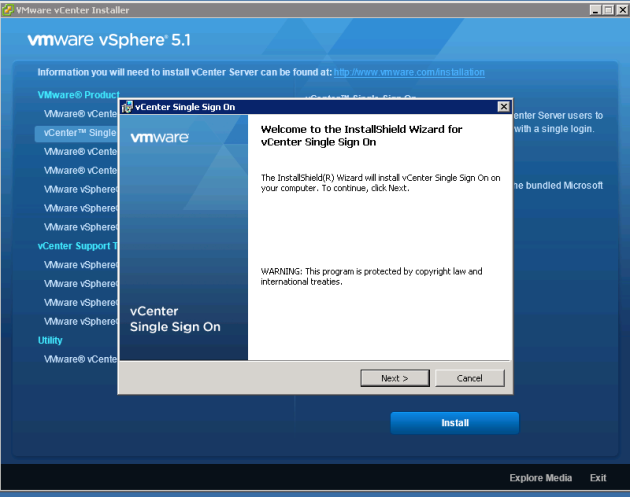
3. Log on to your SSO server. Start up the installer, click install, choose language, and hit next
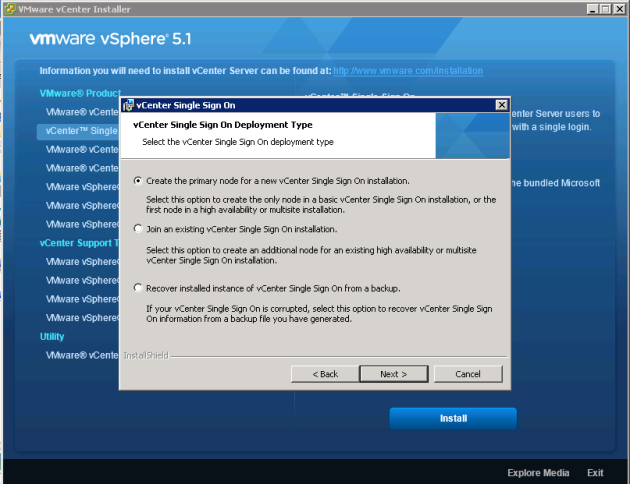
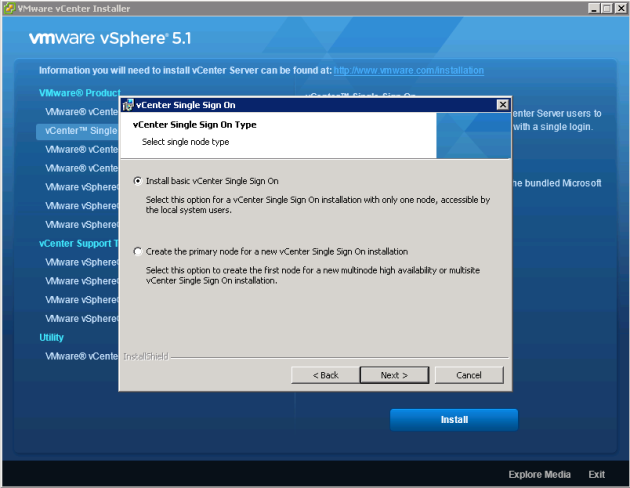
4. Choose create the primary node for a new Vcenter Single Sign on installation
5. Choose Basic if you will be installing this not in multisite mode or choose create the primary node if you will be doing multisite. If you think in the future this may be part of a multisite mode I would choose this to be safe because I am not sure how easy it is to change a basic install to multisite and I don’t think it hurts to choose this option by default. Here are the steps for multisite if you want to go that direction: http://kb.vmware.com/selfservice/microsites/search.do?language=en_US&cmd=displayKC&externalId=2042849
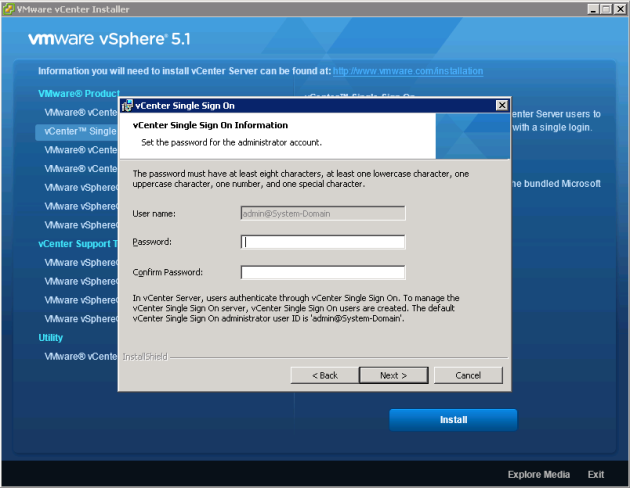
6. Enter the password you want to be for the default account to get into SSO. BE SURE TO RECORD THIS OR YOU CANNOT GET IN SSO TO CONFIGURE IT. This is the password you will use to login to setup your domain/identity sources in the web client.
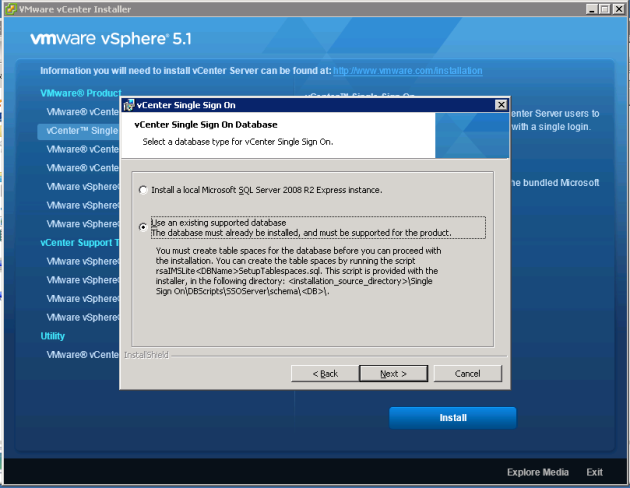
7. Select to use an existing database and choose next.
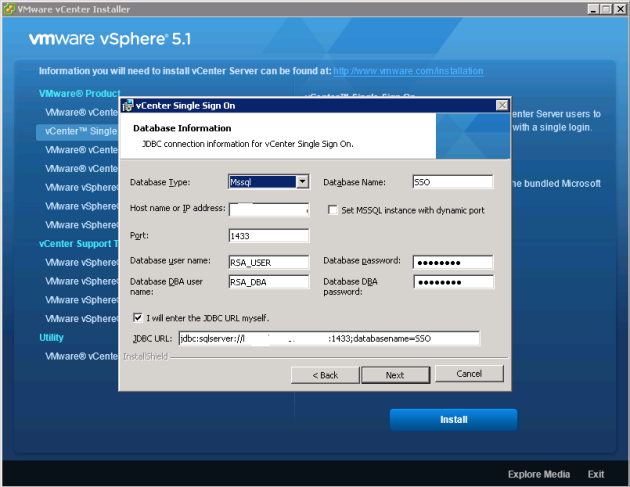
8. Enter all the information listed here, your database name, database server hostname, port, and DB user/DBA username which should be RSA_USER/RSA_DBA if you used the scripts. Enter the passwords you used to create users from step 1. Finally, enter your JDBC URL or let it auto select by unchecking the manual box. It should be in the format jdbc://sqlserver://FQDN.server.com:1433;databasename=DBName. You can read more on the formats below, but the format given should work. http://pubs.vmware.com/vsphere-51/index.jsp#com.vmware.vsphere.install.doc/GUID-72290DA7-FCF9-4331-B108-DAE73728FA14.html
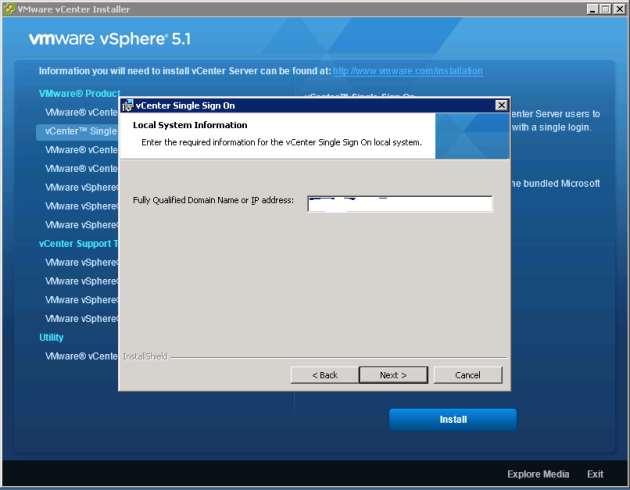
9. Enter the FQDN of the current server you are installing on.
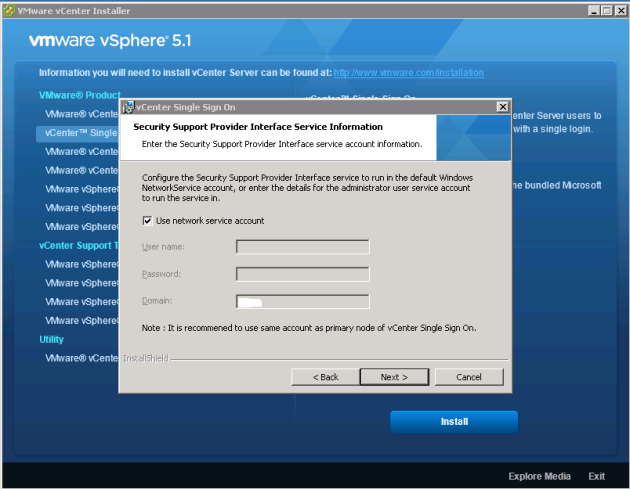
10. I took the default for the SSPI service, but you could run it as a service account.
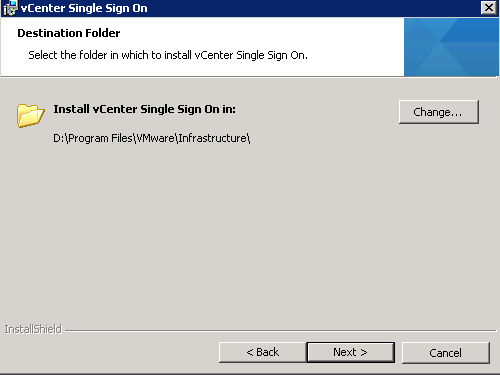
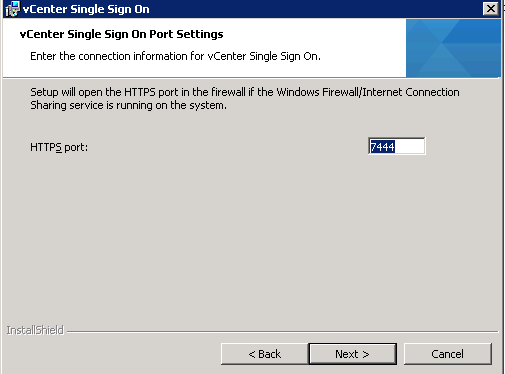
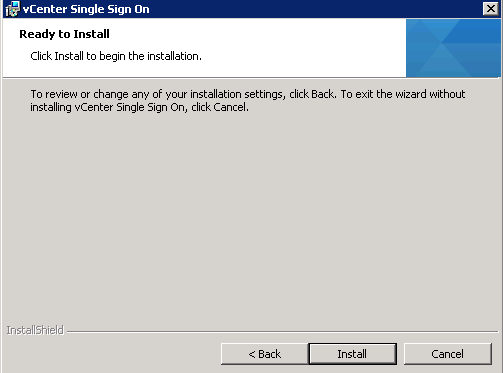
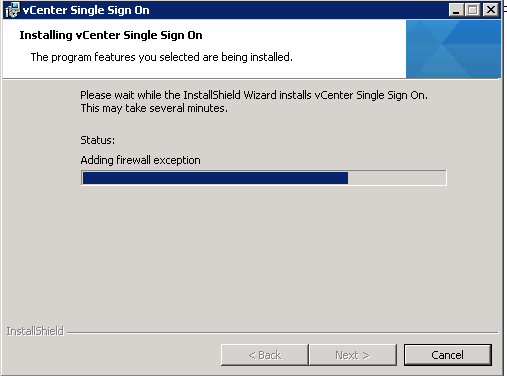
11. Choose your install location and change the port if you don’t want to take default. Hit next till it installs and SSO is installed if everything was entered correctly.
That is it! SSO is installed. Next step will be to get the Web Client installed and configure your identity sources configured! The web client setup will be Part 2 and I hope to get to that soon.
Thanks for sharing this. It is appreciated.
Preston, no problem glad I could help 🙂
Seeing as how my work environment is in production, i will be doing it by the book, but my home lab, i will be trying this out. looks fun.
I used this method in production as well, these steps were signed off by support!
Hi there
I just checked out your website wordpress.com and wanted to find out if you need help for SEO Link Building ?
If you aren’t using SEO Software then you will know the amount of work load involved in creating accounts, confirming emails and submitting your contents to thousands of websites.
With THIS SOFTWARE the link submission process will be the easiest task and completely automated, you will be able to build unlimited number of links and increase traffic to your websites which will lead to a higher number of customers and much more sales for you.
IF YOU ARE INTERESTED, We offer you 7 days free trial
CONTACT US HERE ==> dindinaa421@gmail.com
Regards,
Best Seo Software